If you’ve ever wondered how to sharpen serrated knives, you’re not alone. These knives, like bread knives, have a unique edge that needs special care. Unlike regular kitchen knives, serrated blades don’t get dull in the same way, and sharpening them takes a different approach. I’m here to walk you through the basics so you can keep your serrated knives cutting clean and sharp.
- What Makes Serrated Knives Different?
- When to Sharpen Your Serrated Knife
- Tools You’ll Need
- Safety Precautions and Best Practices
- Getting Ready to Sharpen
- Pre-Sharpening Preparation with a Honing Steel
- How to Sharpen Serrated Knives Step-by-Step
- Tips to Keep in Mind
- Common Mistakes to Avoid
- Other Tools and Methods
- How to Maintain Your Serrated Knives Between Sharpenings
- What About the Angle?
- How Often Should You Sharpen?
- What About Sharpening the Flat Side?
- Final Thoughts
- FAQs
What Makes Serrated Knives Different?

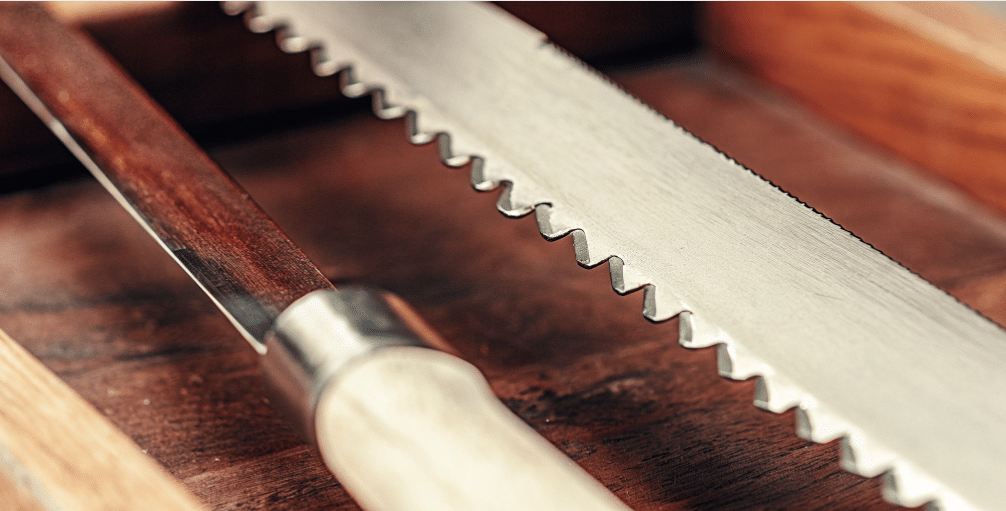
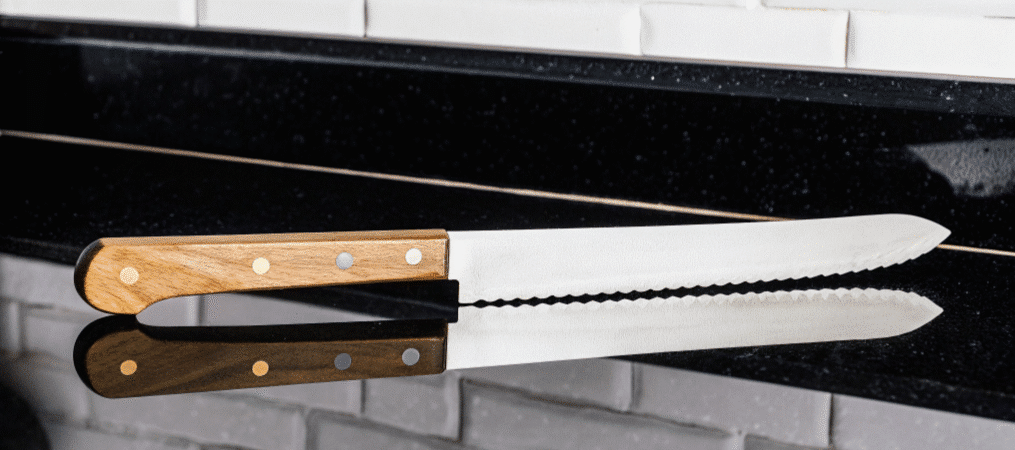
Serrated knives have those little teeth or scallops along the blade. They’re designed to cut through tough crusts or soft foods without squishing them. But because of their shape, sharpening them isn’t as straightforward as sharpening a straight edge knife. When sharpening a chef’s knife, it’s important to maintain the existing bevel angle and use tools like tapered files or grinding wheels, while serrated knives require special attention to each serration and careful honing to avoid damaging the blade’s profile.
The blade usually has one flat side and one beveled side with the serrations carved in.
The flat side can be treated a bit like a regular knife edge, but the serrated side needs a special tool to get in between the teeth without messing up the shape.
When to Sharpen Your Serrated Knife
You don’t have to sharpen serrated knives as often as straight-edged ones. They tend to stay sharp longer because the teeth do most of the work cutting through food, not the whole blade edge. But when your knife starts tearing bread instead of slicing it cleanly, or it feels like you’re pushing more than cutting, it’s time to sharpen. These are signs your serrated edges need attention to maintain effective slicing.
A quick test is to try slicing a tomato. If the skin tears or squashes instead of slicing smoothly, your serrated knife could use some attention.
Tools You’ll Need

To sharpen serrated knives, the most useful tool is a tapered sharpening rod or a honing steel. These rods are thin and round, perfect for fitting into the scallops of the serrations. They come in different materials, like diamond-coated or ceramic, which help sharpen without wearing down the blade too fast. These tools are specifically designed for sharpening knives with serrated edges, allowing you to restore and maintain their unique cutting ability.
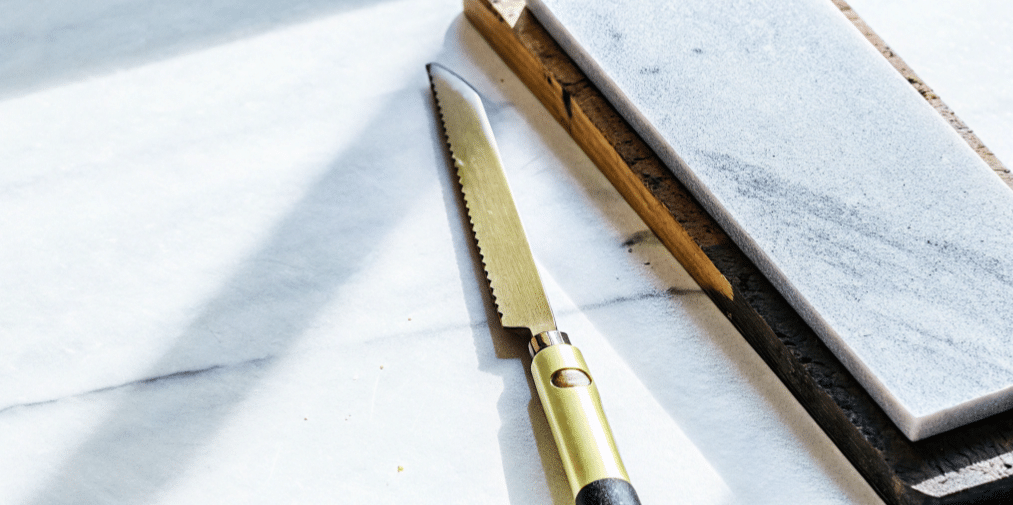
You might also want a leather strop or a finer grit stone to gently refine and polish the edge after sharpening, especially for serrated knives. Avoid using regular sharpening stones or electric sharpeners because they can damage the teeth and ruin the serrated edge.
Safety Precautions and Best Practices
Safety first with serrated knives.
Always.
These blades look friendly.
They’re not.
Sharp teeth can catch fingers.
Easily.
So what should you do?
Here’s how to stay safe:
- Keep Fingers Away: From the edge and teeth.
- Wear Gloves: Latex or rubber work great.
- Better Grip: Gloves help you hold tight.
- No Slips: Protect from small cuts.
Stable surface matters.
A lot.
Non-slip is best.
Why?
Knives can move.
Unexpectedly.
That’s dangerous.
Use the right tools only.
Here’s what works:
- Tapered Diamond Rod: Perfect for serrated blades.
- Proper Sharpening Rod: Made for the job.
- Light Pressure Only: Don’t press hard.
Pressing hard causes problems.
Knives slip.
Teeth get damaged.
Nobody wants that.
Check your knife first.
Before you start.
Look for damage.
Here’s what to watch for:
- Chips: Fix them first.
- Rust: Clean it off.
- Other Problems: Handle before sharpening.
Keep your area clear.
Very clear.
No distractions allowed.
Here’s why:
- Kids: Keep them away.
- Pets: Not safe around sharp tools.
- Focus: You need it for this job.
These steps are simple.
But important.
Follow them always.
Your knives stay sharp.
Your fingers stay safe.
That’s the goal.
Getting Ready to Sharpen

Before you start, clean your knife well to remove any food or rust. A clean blade means better sharpening results. Also, pick a spot with good lighting and a stable surface to work on.
If you want, use a permanent marker to color the serrations on the beveled side. This helps you see exactly where the rod touches the blade and if you’re sharpening at the right angle. Remember, honing does not create a new edge; it realigns the existing edge to maintain sharpness between sharpening sessions.
Pre-Sharpening Preparation with a Honing Steel
Want to sharpen your serrated knife? Hold up. Start with honing first. Smart move. Using a honing steel works great. Especially a round one. Or a tapered diamond rod. Why? It realigns those tiny teeth. Keeps your knife working like a champ. This step matters. A lot. Most serrated knives love this. Often restores sharpness. No full sharpening needed. Pretty cool, right?
Time to hone that blade. Hold it right. The correct angle matters. Usually 10 to 20 degrees. Match the existing bevel. Those serrations have one. Gently insert the honing steel. Into each serration. Start at the heel. Work toward the tip. Use light strokes. Smooth ones. Apply just enough pressure. Feel the rod catch. In each groove. Move through each serration. One by one. Make sure to hone evenly. The entire edge needs attention.
This process rocks. Helps maintain sharpness. Prevents burrs too. After honing, inspect that blade. Any dull spots? Remaining burrs? If the edge still feels dull, time to sharpen. Use your chosen tool. Using a honing steel regularly? Smart choice. Keeps your serrated knives in great shape. Makes sharpening less frequent. Less time consuming too. Your knives will thank you.
How to Sharpen Serrated Knives Step-by-Step
- Focus on One Side: Most serrated knives have a beveled edge on one side. That’s the side you’ll sharpen. The flat side usually doesn’t need sharpening but can be polished lightly.
- Match the Existing Angle: Look at the angle of the beveled edge. It’s usually between 13 and 17 degrees. Try to keep your sharpening rod at the same angle to avoid changing the blade’s shape.
- Sharpen Each Tooth: Place the tapered rod into the first scallop (or gullet), aligning the point of the rod with the center of the gullet for accurate sharpening. Use gentle strokes away from the edge, toward the spine of the blade, carefully grinding the scallop to maintain its shape. Rotate the rod slightly as you go to evenly sharpen the curve of the tooth.
- Check for Burrs: After a few strokes, run your fingers or fingernail along the flat side behind the tooth. If you feel a tiny burr—a rough edge or metal shaving—you’ve sharpened that scallop enough.
- Move to the Next Tooth: Repeat the process for each serration. If your knife has different sized teeth, adjust where the rod fits so it matches each scallop’s size, using the taper of the rod to fit various serration sizes.
- Polish the Flat Side: Once you finish sharpening the serrated side, lightly rub the flat side on a fine stone or leather strop. This removes any burrs and smooths the edge. You should now have a new edge for optimal cutting performance.
Tips to Keep in Mind
- Use light pressure when sharpening. Pressing too hard can wear down the teeth or change their shape.
- Take your time. Sharpening serrated knives isn’t quick, but it’s worth it.
- If you’re new to this, practice free hand sharpening on an old serrated knife first. Developing your skill with free hand techniques will help you achieve more precise results and better maintain the original serration profile.
- Keep the rod clean and free of metal shavings for better results.
- Don’t try to sharpen the flat side aggressively; it only needs a bit of polishing.
Common Mistakes to Avoid
One common mistake is trying to sharpen both sides of the blade like a straight knife. Most serrated knives only have one beveled side, so sharpening the flat side too much can ruin the edge.
Another is using the wrong tool, like a flat sharpening stone or electric sharpener. These can flatten the teeth or damage the blade.
Also, don’t rush or use too much force. It can cause the teeth to chip or break.
Other Tools and Methods
Some people use small files or a dowel—specifically, a wooden dowel wrapped with abrasive paper—to sharpen serrated knives. This method can work well if you don’t have a sharpening rod. The idea is the same: fit the tool into each scallop and gently file the edge.
If you have a leather honing wheel or strop, you can use the edge of it to hone the serrations carefully.
How to Maintain Your Serrated Knives Between Sharpenings
Keeping your serrated knives clean and dry after use helps prevent rust and corrosion. Avoid cutting on hard surfaces like glass or stone, which can dull the teeth faster.
Use your serrated knives for their intended tasks—like slicing bread or tomatoes—to keep them sharper longer.
What About the Angle?
Matching the existing angle of the serrated edge is key. Most serrations are sharpened at a shallower angle than straight blades, usually around 15 degrees.
If you don’t keep the right angle, you risk changing the shape of the teeth, which affects how the knife cuts.
Using a permanent marker on the serrations before sharpening helps you see if you’re grinding evenly. When the marker disappears evenly, you know you’re doing it right.
How Often Should You Sharpen?
Serrated knives don’t need sharpening as often as straight-edged knives. Depending on use, you might only need to sharpen once a year or even less.
Keep an eye on how your knife cuts. If it starts tearing or crushing food, it’s time to sharpen.
What About Sharpening the Flat Side?
The flat side mostly stays flat and smooth. You can use a fine stone or leather strop to polish it lightly. This helps remove burrs and keeps the blade balanced.
Avoid grinding or sharpening this side aggressively, or you might ruin the blade’s shape.
Final Thoughts
Sharpening serrated knives might seem tricky at first, but it’s manageable with the right tools and a bit of patience. Using a tapered sharpening rod and sticking to the existing angle keeps your knife working well without damaging the teeth.
Keep your knives clean, sharpen them only when needed, and take your time with each scallop. Soon enough, you’ll get the hang of it and enjoy the sharp, precise cuts that a well-maintained serrated knife can give you.
Remember, a dull knife is more dangerous than a sharp one because you have to use more force, which can lead to slips. So, keeping your serrated knives sharp is worth the effort.
You might be surprised at how much better a properly sharpened serrated knife performs, especially when slicing through tough bread or delicate tomatoes.
Happy sharpening!
FAQs
Can I use a regular sharpening stone on my serrated knife?
It’s best not to. Regular stones can mess up the teeth on serrated blades. Using a tapered sharpening rod or honing steel is the way to go because they fit into the scallops and keep the edge right.
How do I know if I’m sharpening at the right angle?
Check the existing bevel on the serrated side. Most are around 13 to 17 degrees. You can color the teeth with a permanent marker before you sharpen. When the marker wears off evenly, you’re at the correct angle.
How often should I sharpen my serrated knives?
Serrated knives stay sharp longer than straight edges. If your knife starts tearing instead of slicing, or it’s tough to cut things like tomatoes or bread, it’s time. For most people, once a year or less is enough.

